

Groups
Section titled “Groups”Groups help your church organize people around community, ministry, service, or shared interests. Start with the outcome you need, then use the reference sections below for the underlying group model.
Start with a goal
What do you want to do?
Choose the outcome that matches the work in front of you. You can come back to the deeper reference sections when you need details.
Create a group
Define the group purpose, type, visibility, meeting details, and other basics.
Add leaders and members
Build the group from the same People records your organization already maintains.
Run group communication
Use group-scoped communication and chat when those experiences are enabled.
Understand connection patterns
Use group participation alongside People and Engagement to understand where people are connected.
Recommended flow
A good first workflow
- Create the group and define its purpose.
- Assign one or more leaders.
- Add members from the People directory.
- Configure meeting details and any public-facing information.
- Use participation alongside People and Engagement for follow-up context.
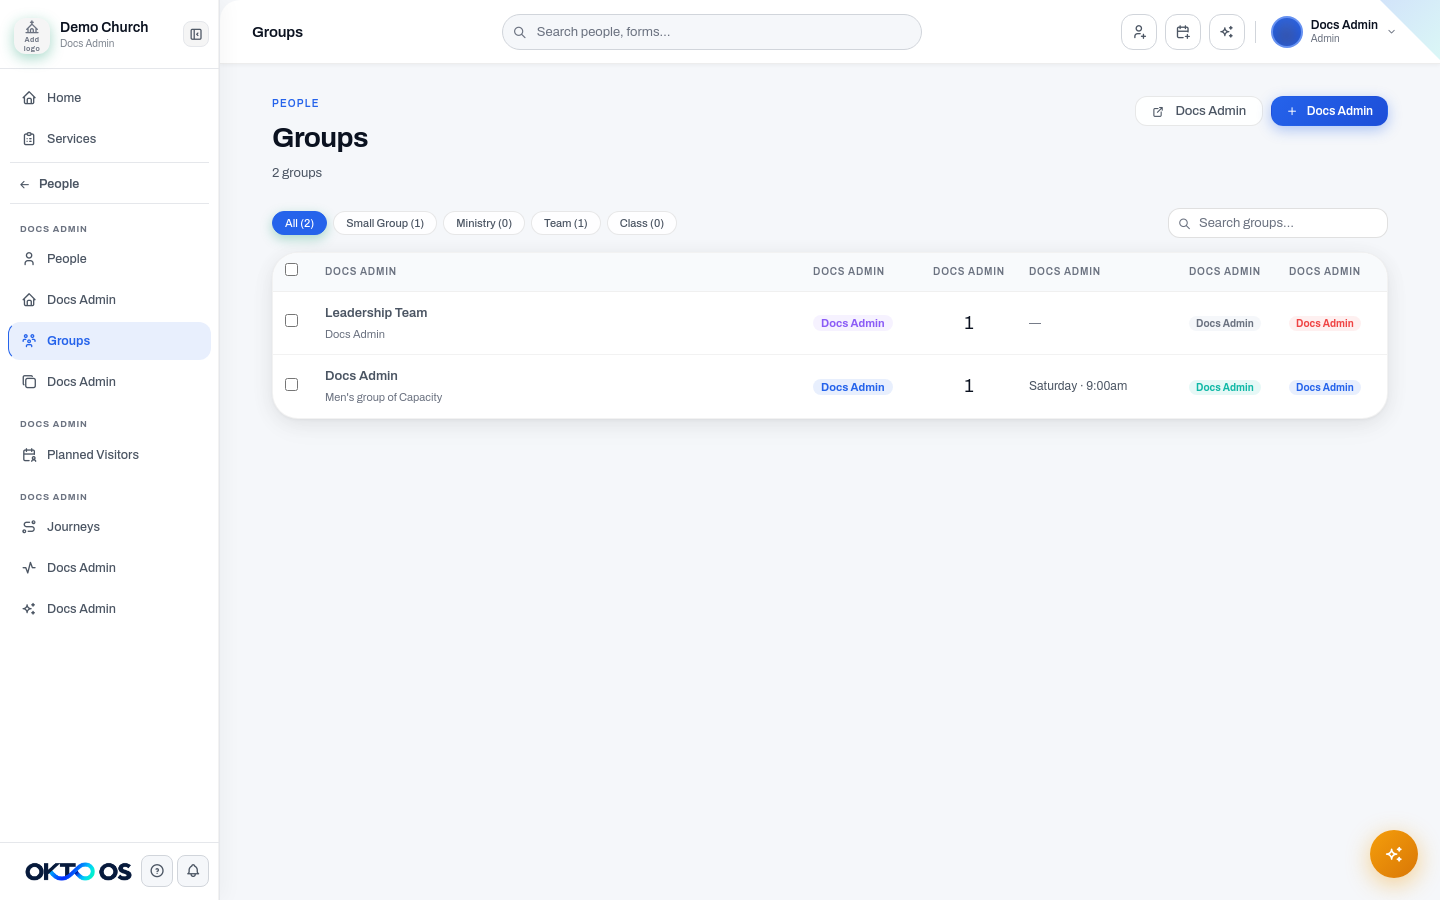
Browsing and viewing groups
Section titled “Browsing and viewing groups”The Groups page offers two ways to browse your groups:
- Card view — displays each group as a visual card, making it easy to scan group names, types, and key details at a glance.
- Table view — lists groups in rows for a more compact, sortable overview.
Switch between views using the toggle at the top of the Groups page. When you open a group, it now loads as its own full page rather than a side panel, giving you more room to manage members, leaders, and meeting details.
What you can manage
Section titled “What you can manage”- Group name, type, description, and visibility
- Multiple leaders and members
- Meeting details and locations
- Group-specific communication and chat when enabled
- Participation history that can contribute context to engagement and follow-up
Browsing and finding groups
Section titled “Browsing and finding groups”The Groups page displays your groups as cards by default. Switch to Table view using the toggle in the top-right area of the list if you prefer a row-by-row layout.
Use the type filter chips to narrow the list by group type. The list defaults to showing Active groups. Use the Active / Archived / All filter to view archived groups or see everything at once.
Opening a group
Section titled “Opening a group”Click any group card or table row to open that group’s full-page detail view. From there you can manage members, review attendance, view events, and access group chat—all without leaving the group’s own page. Use the Back to Groups link at the top of the page to return to the list.
The group detail page also has a “…” menu that lets you:
- Duplicate the group’s settings into a new group
- Open public listing to preview how the group appears in your public Groups directory
- Archive the group (see below)
Recommended workflow
Section titled “Recommended workflow”- Create the group and define its purpose.
- Assign one or more leaders.
- Add members from your People directory.
- Configure meeting details and any public-facing information.
- If the group is a Team type, decide whether to mark it as a Service Team.
- Use group activity alongside People and Engagement to understand connection patterns.
Leaders and members
Section titled “Leaders and members”Groups now support multiple leaders. You can assign as many leaders as your group needs—there is no longer a single-leader limit.
To add or change leaders:
- Open the group and select Edit.
- In the leader search field, search by name and select each person you want to assign as a leader.
- To remove a leader, deselect them from the list. Removing someone as a leader does not remove them from the group’s member roster.
- Select Save Changes.
Leaders are displayed on the group’s Overview tab and appear in the member list with a Leader badge.
To add members:
- Open the group and go to the Members tab.
- Search for a person by name, select one or more people from the results, choose the role to assign (member or leader), then select Add.
Service Teams
Section titled “Service Teams”For groups with a Team type, you can control which teams sync into Services scheduling using the Mark as Service Team toggle.
- Only teams you mark as Service Teams will appear in Services scheduling. Teams that are not marked are excluded automatically.
- To enable the toggle, open the group, select Edit, check Mark as Service Team, and save.
- If you uncheck Mark as Service Team on a team that is already linked to Services scheduling, you will be asked to confirm before the change is saved.
Archiving groups
Section titled “Archiving groups”Removing a group archives it rather than permanently deleting it. Archiving preserves the group’s roster, attendance records, events, and chat history so they remain available for reporting and can be restored at any time.
- Archived groups appear dimmed with an Archived badge in the Groups list.
- To find an archived group, use the Archived or All filter on the Groups list.
- To restore an archived group, open it and use the “…” menu.
- You can also select multiple groups in the list and archive them together using the bulk action.
Group chat
Section titled “Group chat”When chat is enabled for a group, members can communicate in a thread scoped to that group. See Group Chat for the migrated workflow and access model.