

General Service Check-In
General Service Check-In is intended for weekly services and other gatherings where you need fast attendance capture without a family-security flow.
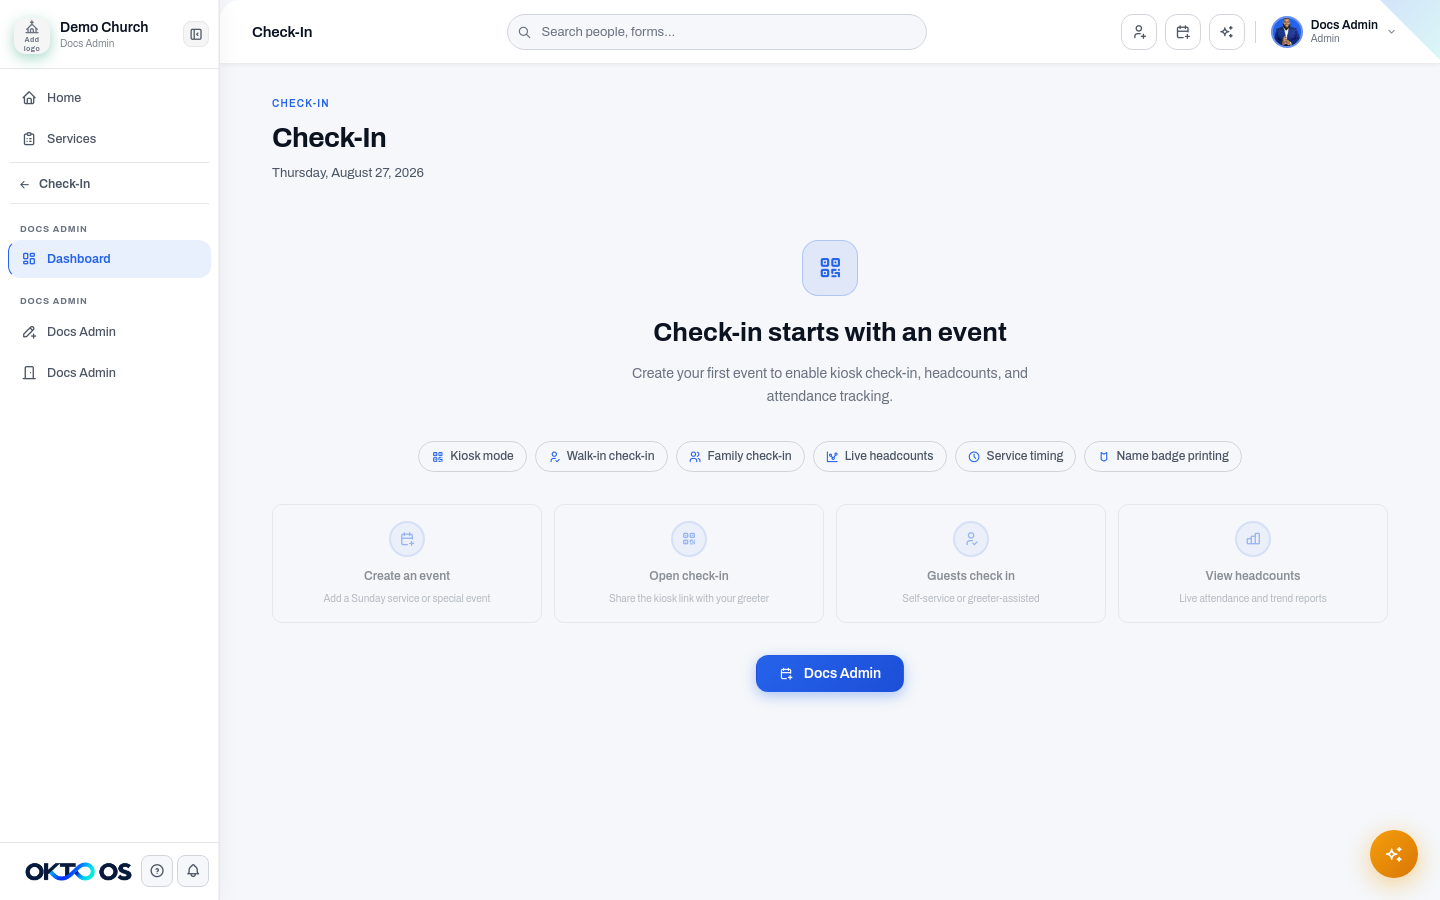
Create a check-in page
Section titled “Create a check-in page”- Open Check-In and create a new check-in page.
- Choose General Service as the check-in type.
- Enter the service or gathering details, including the name, date, and time information used by the flow.
- Configure the available check-in methods for your team and attendees.
- Publish the experience and make the check-in entry point available where people arrive.
QR and assisted check-in
Section titled “QR and assisted check-in”A general service can support a low-friction QR experience as well as staff-assisted lookup. Use the option that best fits your lobby and volunteer model; many churches provide both.
Walk-ins and new people
Section titled “Walk-ins and new people”When a person is not already in the People database, staff can capture the minimum information needed to create or associate a record without abandoning check-in.
After the service, review new records in People and make sure any follow-up workflow your church uses is applied consistently.
Before Sunday
Section titled “Before Sunday”Run a test with your welcome team before the first live service:
- Confirm the check-in page opens on the intended device.
- Test a known person lookup.
- Test the new-person/walk-in path.
- Verify any displayed QR code from a second device.
- Confirm volunteers know how to recover if an attendee cannot find their record.